BABYLOCK SERGER SLOWS DOWN REPAIR links
If the motor runs fine, without the belt attached to the handwheel, these vintage BabyLock sergers have one area that just needs a little extra care, to get it back in good running shape!
 |
| 1. Remove plastic cap with red arrow, to access screw under it. |
 |
| 2. Remove screw to the left of red dot, holding stitch length setting in. |
 |
| 3. Loosen set screw (do not remove it, only loosen it until you can slide pin/bearing out - you do not need to remove C clip.) This model does not have differential feed. |
 |
| After polishing with dremel, I finish polishing smooth, with jeweler's rouge, inside the bushing, as shown here, then outside of cam. |
Here is a link to instructions for repairing it-
BabyLock serger hand wheel hard to turn
I am including photos of other instructions I printed out, for repairing sergers, for myself, as well as others!
Andy Ruina Feb. 17, 2020 on Facebook Sewing Machine Collect & Repair Lounge
"Successful Babylock Serger repair. BL4-736D. This is a four thread serger from 1970 or 1980 or so. Made by Juki.
Symptom of Problem: Makes a good stitch, runs well for about 10 seconds and then slowly grinds to a halt. Let it rest and the problem repeats.
I don't know how or where to post this so that people can find it. I am posting that which I wish I could have found before. Over the years, here and there on the internet, others seem to have had this problem. I did find the solution below, I don't remember where, but I didn't understand it until I did it myself.
Short version of the solution. Take off the left side of the cover and the machine bottom. At the left side of the machine is a stitch length regulator. Pry off (with a knife) the plastic cap on the cover(with an arrow marked on it). Unscrew the big screw that is revealed. Pull apart that which you can. There is a round piece, about 1" diameter, that slides in a round hole. That piece was tight in that hole. With fine grit sandpaper and a dremel tool grind the two pieces down until they slide easily in each other. Grease and reassemble. We also had to adjust the feed dog timing by unclamping that same piece from the main shaft, and turning until the feed dogs were moving cloth only when the needles were out.
It stitches neatly, smoothly and fast after this repair.
How did we locate the problem? First we loosened the the rotating parts for the feed dog from the main shaft. The motor then ran tirelessly. So the problem is/was somewhere in the feed dog area. Then we reclamped the rotating feed-dog stuff to the main shaft. Then we set the stitch length to zero, so all the feed-dog stuff wasn't moving. And the problem returned. Thus the problem had to be in the part that connected the main shaft to the feed dog stuff because that was the only thing sliding in that general area of the machine.
Because we are lucky, that part is at the protruding end of the main shaft and all comes apart easily once you take off the plastic cap and unscrew that main screw (the one under the plastic cap).
The cam, that eccentric sliding part, was quite jammed, so taking it apart took some little effort, pushing on one side or another. But then it came apart. And dremmeling and sand paper got it so it could go again together and turn without jamming. And grease made it so it would slide smoothly.
What caused the problem? The consensus seems to be that the machine must have sat for a few decades unused, with lubricant evaporating out. Then it was run too hard and too fast and too long. Then the parts got too hot and either galled (metal melting on metal) or got distorted. We couldn't see any galling.
Besides the covers, this repair only involved removing a single screw. And, to get the feed dog timing, which was messed up in the diagnosing phase, we had to loosen and tighten two set screws to the main shaft.
In the end, if I had to do the identical repair again, and no diagnosing, the whole thing would be about 1/2 hour. No complicated disassembly. And only one simple timing adjustment.
%%%%%%%%
I realize that everytime anyone fixes anything they have an adventure like this. So there are 10,000 potential tips like this out there for 1000 different machines. But it is nice finding tips on the internet. So I leave this one for someone else to find.
%%%%%%%
I am still hoping for ideas about where to get information like this about sergers. Mark Sumpter wrote a great introduction to serger stitches. Now we (I) would like some information about the machine(s)."
 |
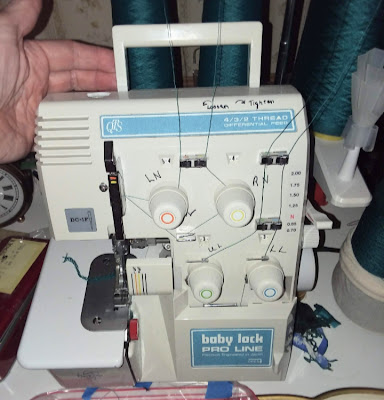
| BabyLock Pro Line 838D |
 |
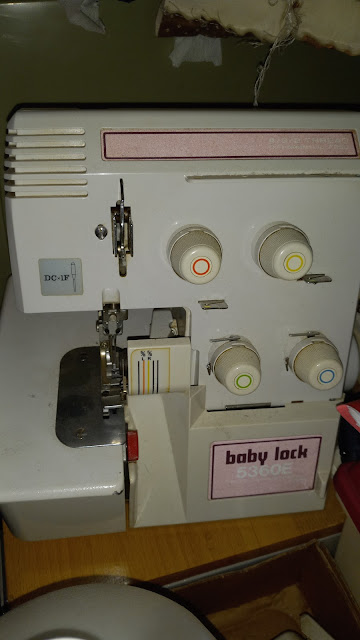
| BABY LOCK BABYLOCK 5360E |
 |
| INFORMATION ON BUSHING REPAIR BLOGS |
 |
| Baby Lock Babylock BL4-736 |
 |
| Differential Feed models have more parts |
 |
| No need to remove the pivoting arm attached to the feed dog bushing arm, on differential feed models. |
 |
| Sliding pin/bearing back in, to reassemble, after polishing and greasing bushing and cam, |
 |
| Differential Feed feed dog bushing from 5360E notice extra screw and nut for additional feed dog arm, in magnetic bowl, waiting to be reassembled. |
 |
| BabyLock 5360D BL4-5360D STITCH LENGTH ECCENTRIC CAM MUST be able to ROTATE inside the FEED DOG BUSHING (Differential Feed models) |
 |


